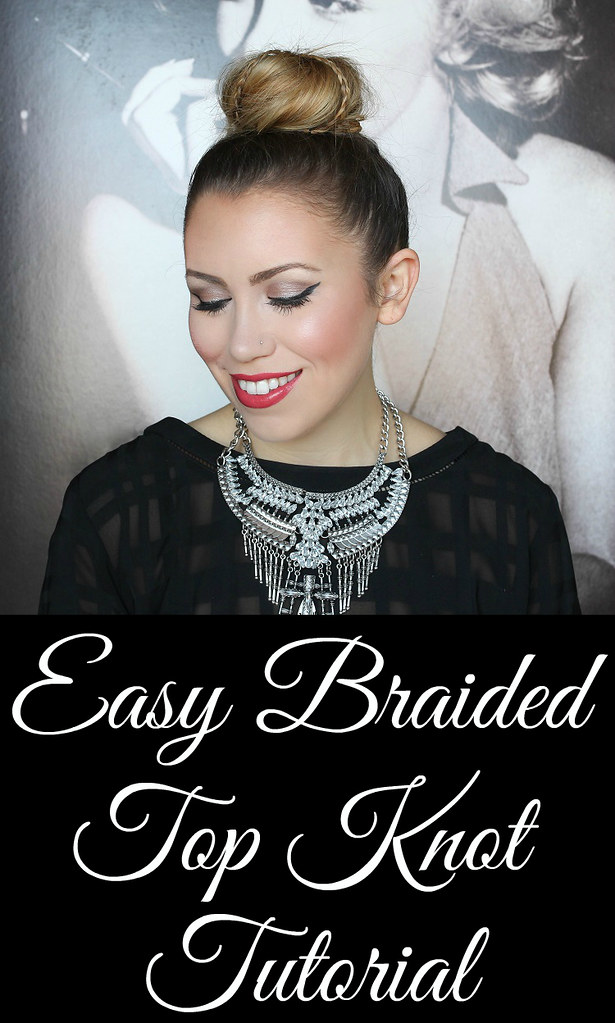
Ask and you shall receive! I'm always getting questions and comments about my hair so I thought it was time to do my very first hair tutorial. While I don't think I'm a hair expert, I do like to experiment with my beauty looks including fun hair styles!
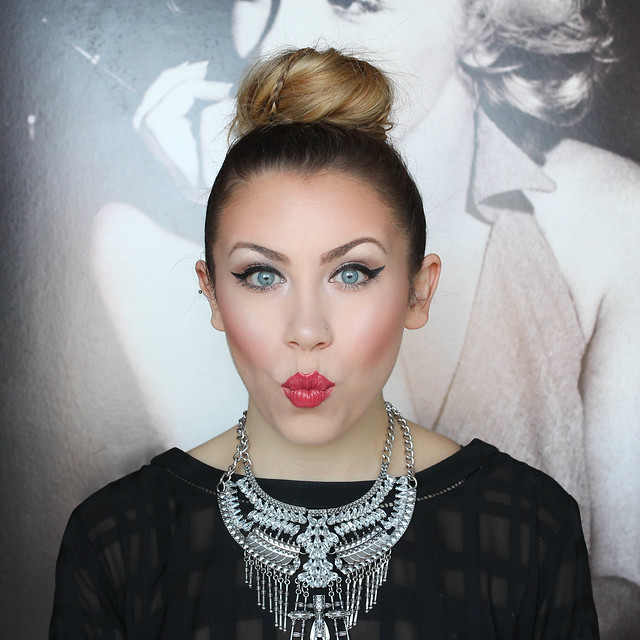
Today I'm teaming up with Aussie to show you how to recreate this easy braided top knot on yourself! I don't know if it's the dancer in me, but a great bun is always my go-to when I don't want to wear my hair down, but sometimes I want something a little more "special" than a regular top knot...enter this braided style!

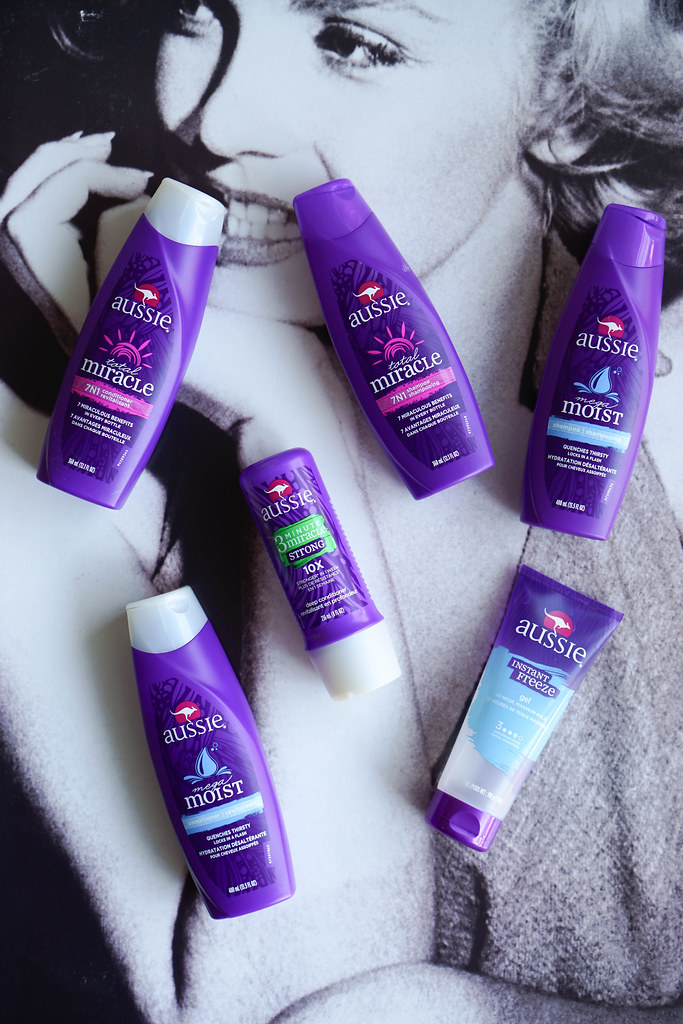
The key to a great hairstyle is healthy, moisturized hair and Aussie's Moist Shampoo and Conditioner, Total Miracle Collection 7N1 Shampoo & Conditioner and 3 Minute Miracle Strong Conditioning Treatment give you exactly that! I only wash my hair twice a week so when I'm shopping for hair products I'm looking for something that deeply cleans my hair, but also keeps it highly moisturized and protects my hair from breaking. Aussie's products meet all those requirement at an extremely affordable price.

Everyone's hair could use a little bit of extra loving in the winter (especially if you use hot tools or put your hair up a lot) and one additional step I add to my hair routine during the colder months is a conditioning treatment. During the summer I usually deep condition my hair about twice a month, but since my hair tends to get extremely dry during the winter I usually deep condition it once a week! I've actually been using Aussie's 3 Minute Miracle Strong Conditioning Treatment for about a month and I've noticed a huge difference in the ends of my hair. Even after teasing my hair to create this top knot, my hair still looks really shiny and hydrated. I love that even though I don't have a lot of free time these Aussie products make it easy for me to take care of my hair.

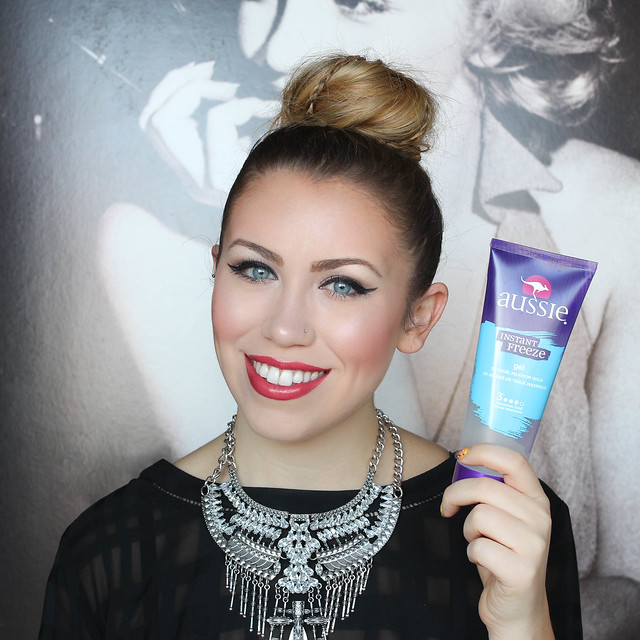
All you need to recreate this easy braided top knot on yourself in a brush, a hair tie, a bunch of bobby pins and Aussie's Instant Freeze Sculpting Hair Gel. This fun hair style is perfect for the Holidays and way more interesting than your average bun. The best part is that you don't need to be great at doing your hair to recreate it, from start to finish it only took me 5 minutes and if it doesn't come out perfect it still looks good! Scroll down for the step by stop instructions and make sure to tag me in your photos if you recreate it!

So how did you like my very first hair tutorial? Leave me a comment to let me know if you want to do more and what you'd like to see next!
Disclaimer: This post was sponsored by Aussie, but all opinions are my own. Thank you for supporting brands that make this blog possible.
Disclaimer: This post was sponsored by Aussie, but all opinions are my own. Thank you for supporting brands that make this blog possible.