I got such great feedback on my first Airbrush Makeup post that I figured I would follow it up with a step-by-step easy airbrush makeup tutorial! If you haven't read My Beginner's Guide to Airbrush Makeup I would head over and read that first to get yourself familiar with your Luminess Air System and learn a few tips and tricks for mastering airbrush makeup application first!
Today I wanted to show you how I use Luminess Air Airbrush Essentials to create a flawless complexion! Foundation is great, but if you correct your imperfections before applying foundation you won't have to use as much, and I don't know any girl who wouldn't like to use less foundation.

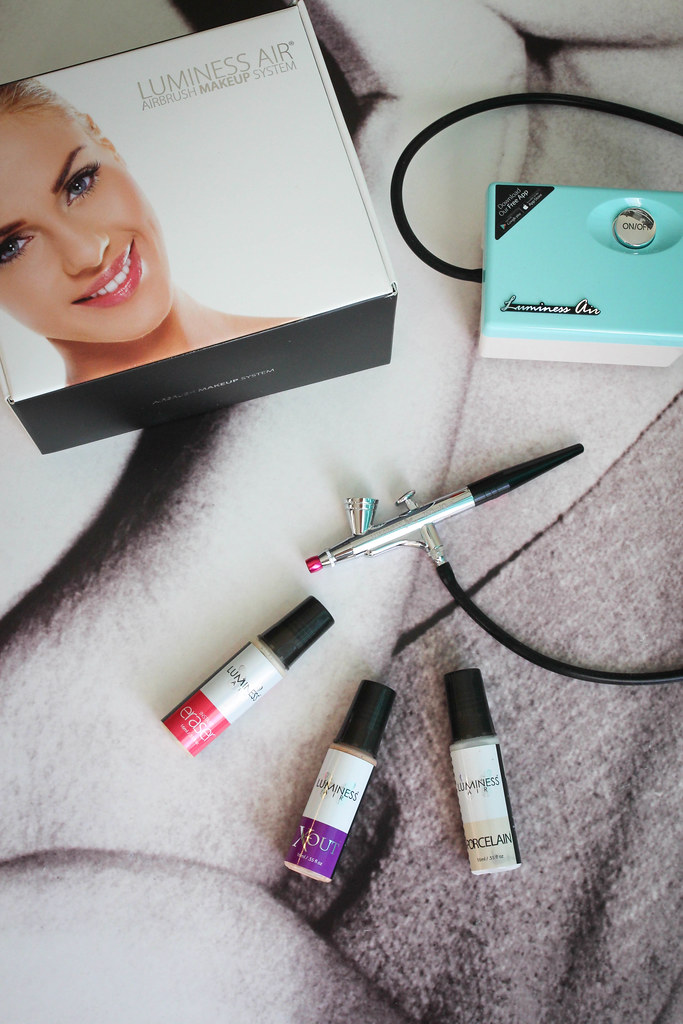
My 3 Luminess Air Airbrush Essentials are Porcelain, Eraser and X-Out! First I apply Porcelain Primer to my entire face to help my foundation last longer and apply smoother. Next I apply Luminess' Eraser to help neutralize the redness around my nose, the dark pigmentation from the sun on my cheeks and the pimples on my chin. Finally I applied X-Out under my eyes to conceal my dark circles and illuminate the eye area. I couldn't get as close to my lash line as I wanted so I lightly applied X-Out with my fingers in that area. After finishing these steps it was time for foundation, bronzer, blush and highlight!
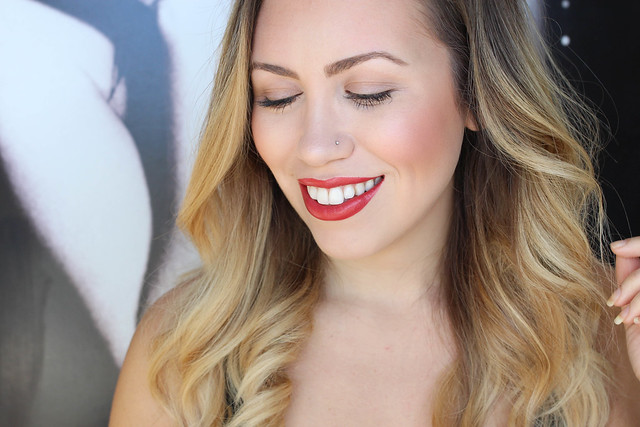
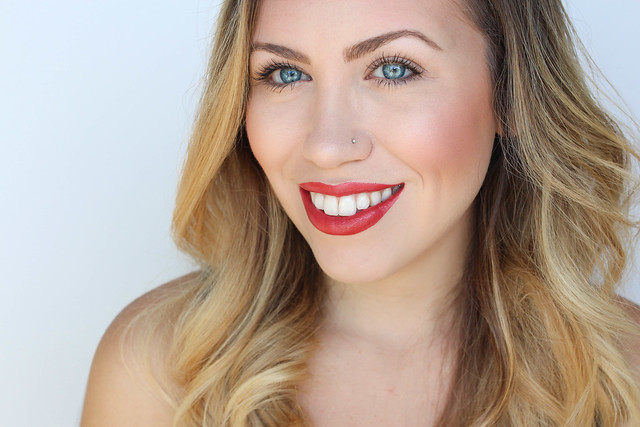
As you can see from the photos above of me without any makeup on I don't have perfect skin! I have large pores and redness on my nose, sun spots under my eyes and a few acne scars on my chin, but with the correct products I can make my skin flawless (and you can too)! Since my skin was looked like it was glowing after applying these products I finished this look by filling in my brows and adding a few swipes of mascara and a bold red lipstick!
So have I convinced you to start using Airbrush makeup? I'm going to be doing a few more airbrush makeup posts throughout the next few months so if you have any questions or concerns leave me a comment, I'd love to help!
So have I convinced you to start using Airbrush makeup? I'm going to be doing a few more airbrush makeup posts throughout the next few months so if you have any questions or concerns leave me a comment, I'd love to help!

